


How to Make a Fascinator
Posted by Lia on 16th Feb 2017
Recently I was looking for a beginners
millinery course in the city. I looked up a few options online and
after talking to a few people and doing a some research I decided to
go with a 6 week course in Coláiste
Stiofáin Naofa
college of further education. I will be writing blog posts for
the next 6 weeks about what we are learning in these millinery
classes.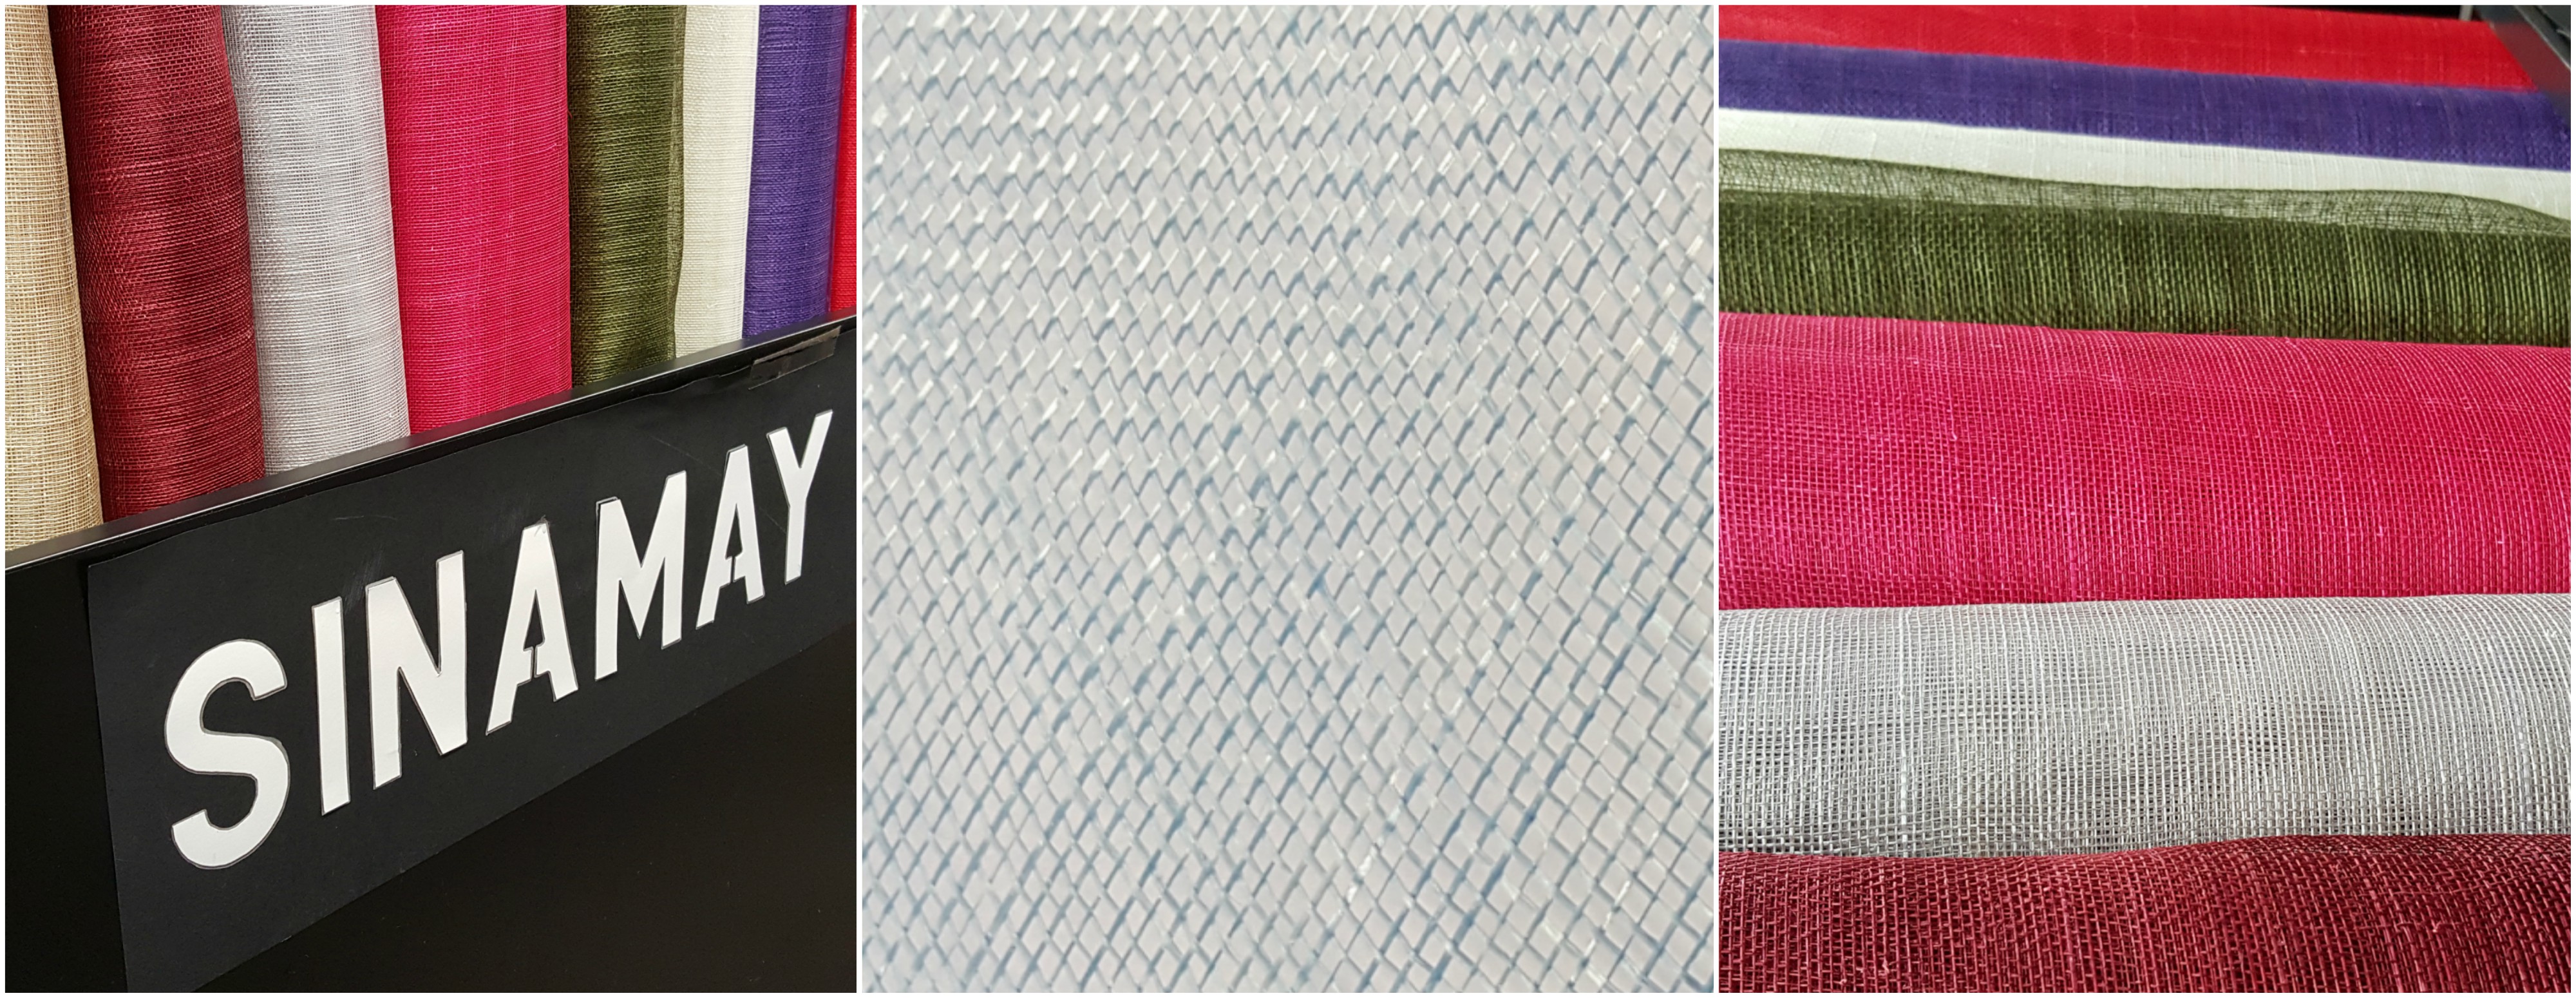
This week we started making a hat base. We started with sinamay, learning how to manipulate it and create a bias strip for our hat base. You can choose any shape you like for your hat base shape, I picked a small circle base. I cut 3 circle shapes from my sinamay, wet them and iron them together using baking parchment paper. This stuck them together.
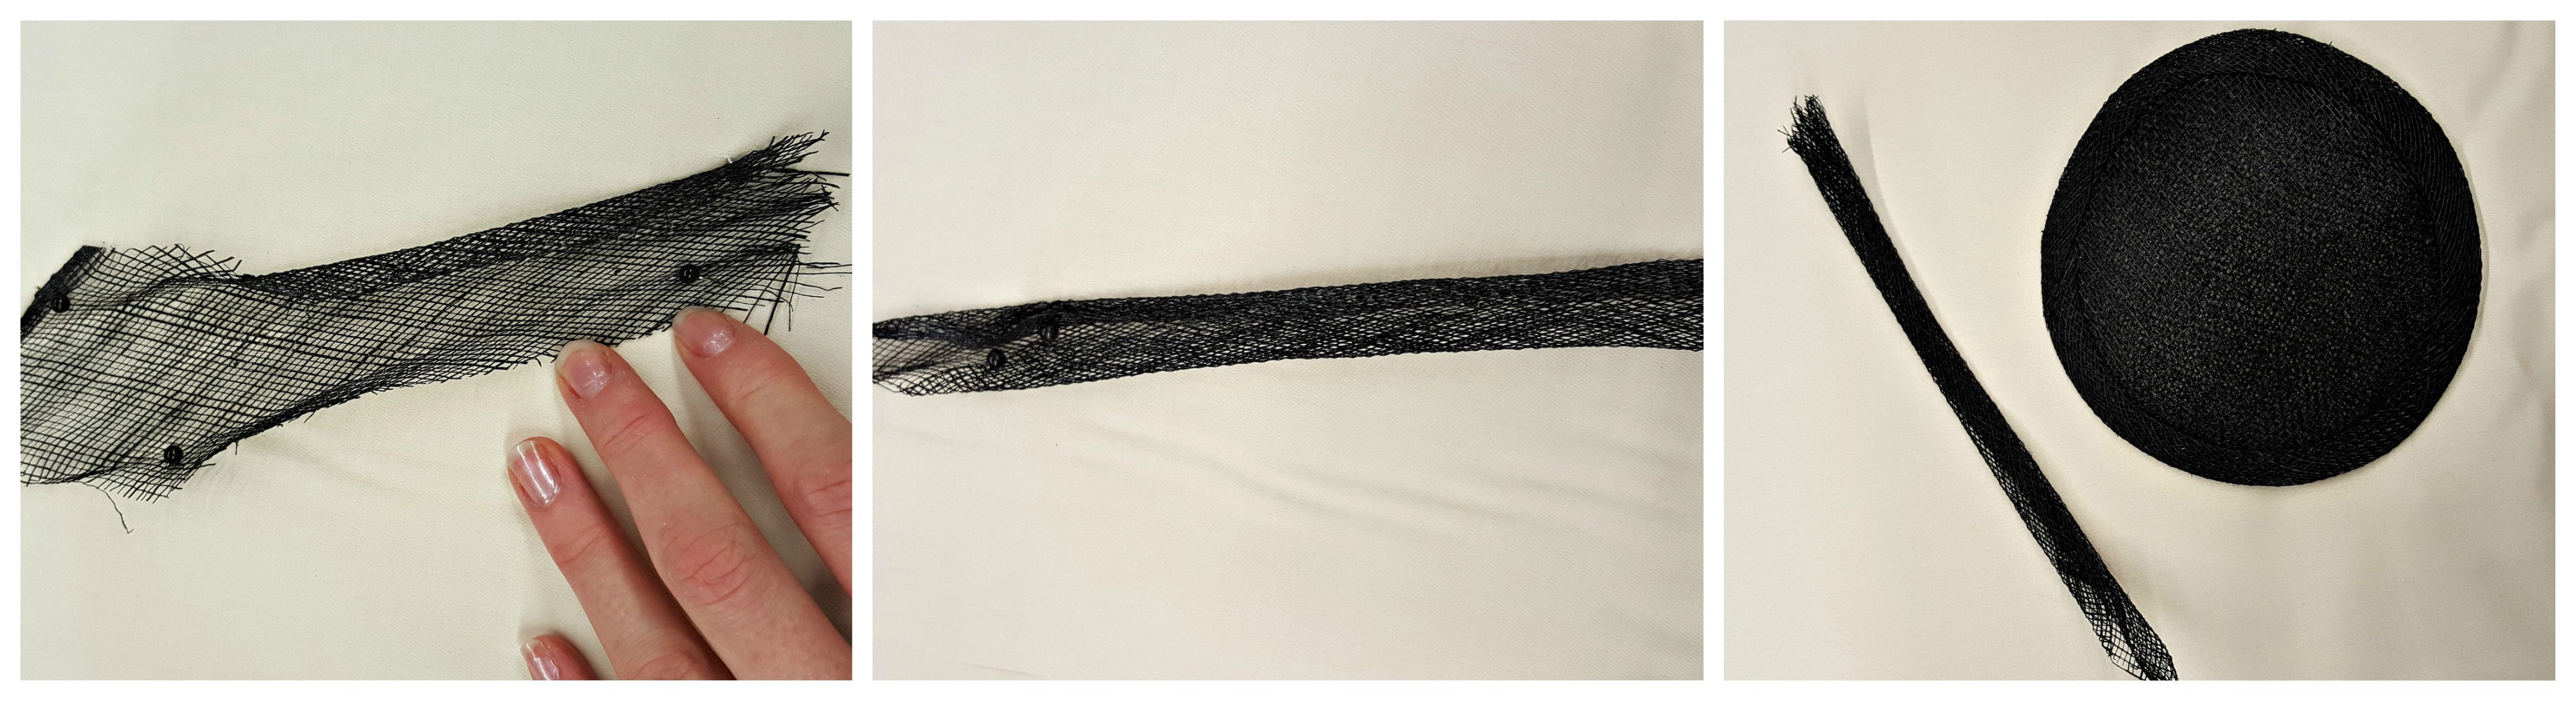
For the bias we cut a 2 inch strip from wet sinamay, stretched it and then folded it in half. The strip needs to be cut diagonally to give the bias strip flexibility, the same as with fabric bias binding.
Next we ironed it, folded the edges into the center and ironed it again, all the time keeping it damp to make it easier to work with. Lastly we sewed the bias around the edge of the hat base to cover the raw edges. This is the one I made.
If you would like to make this easier, we also stock these items in store. You can buy the base and the bias strips completed or make them yourself using sinamay.

Next week we'll be learning how to make sinamay flowers, so stay tuned!