


How to Make a Fascinator Part 2
Posted by Lia on 2nd Mar 2017
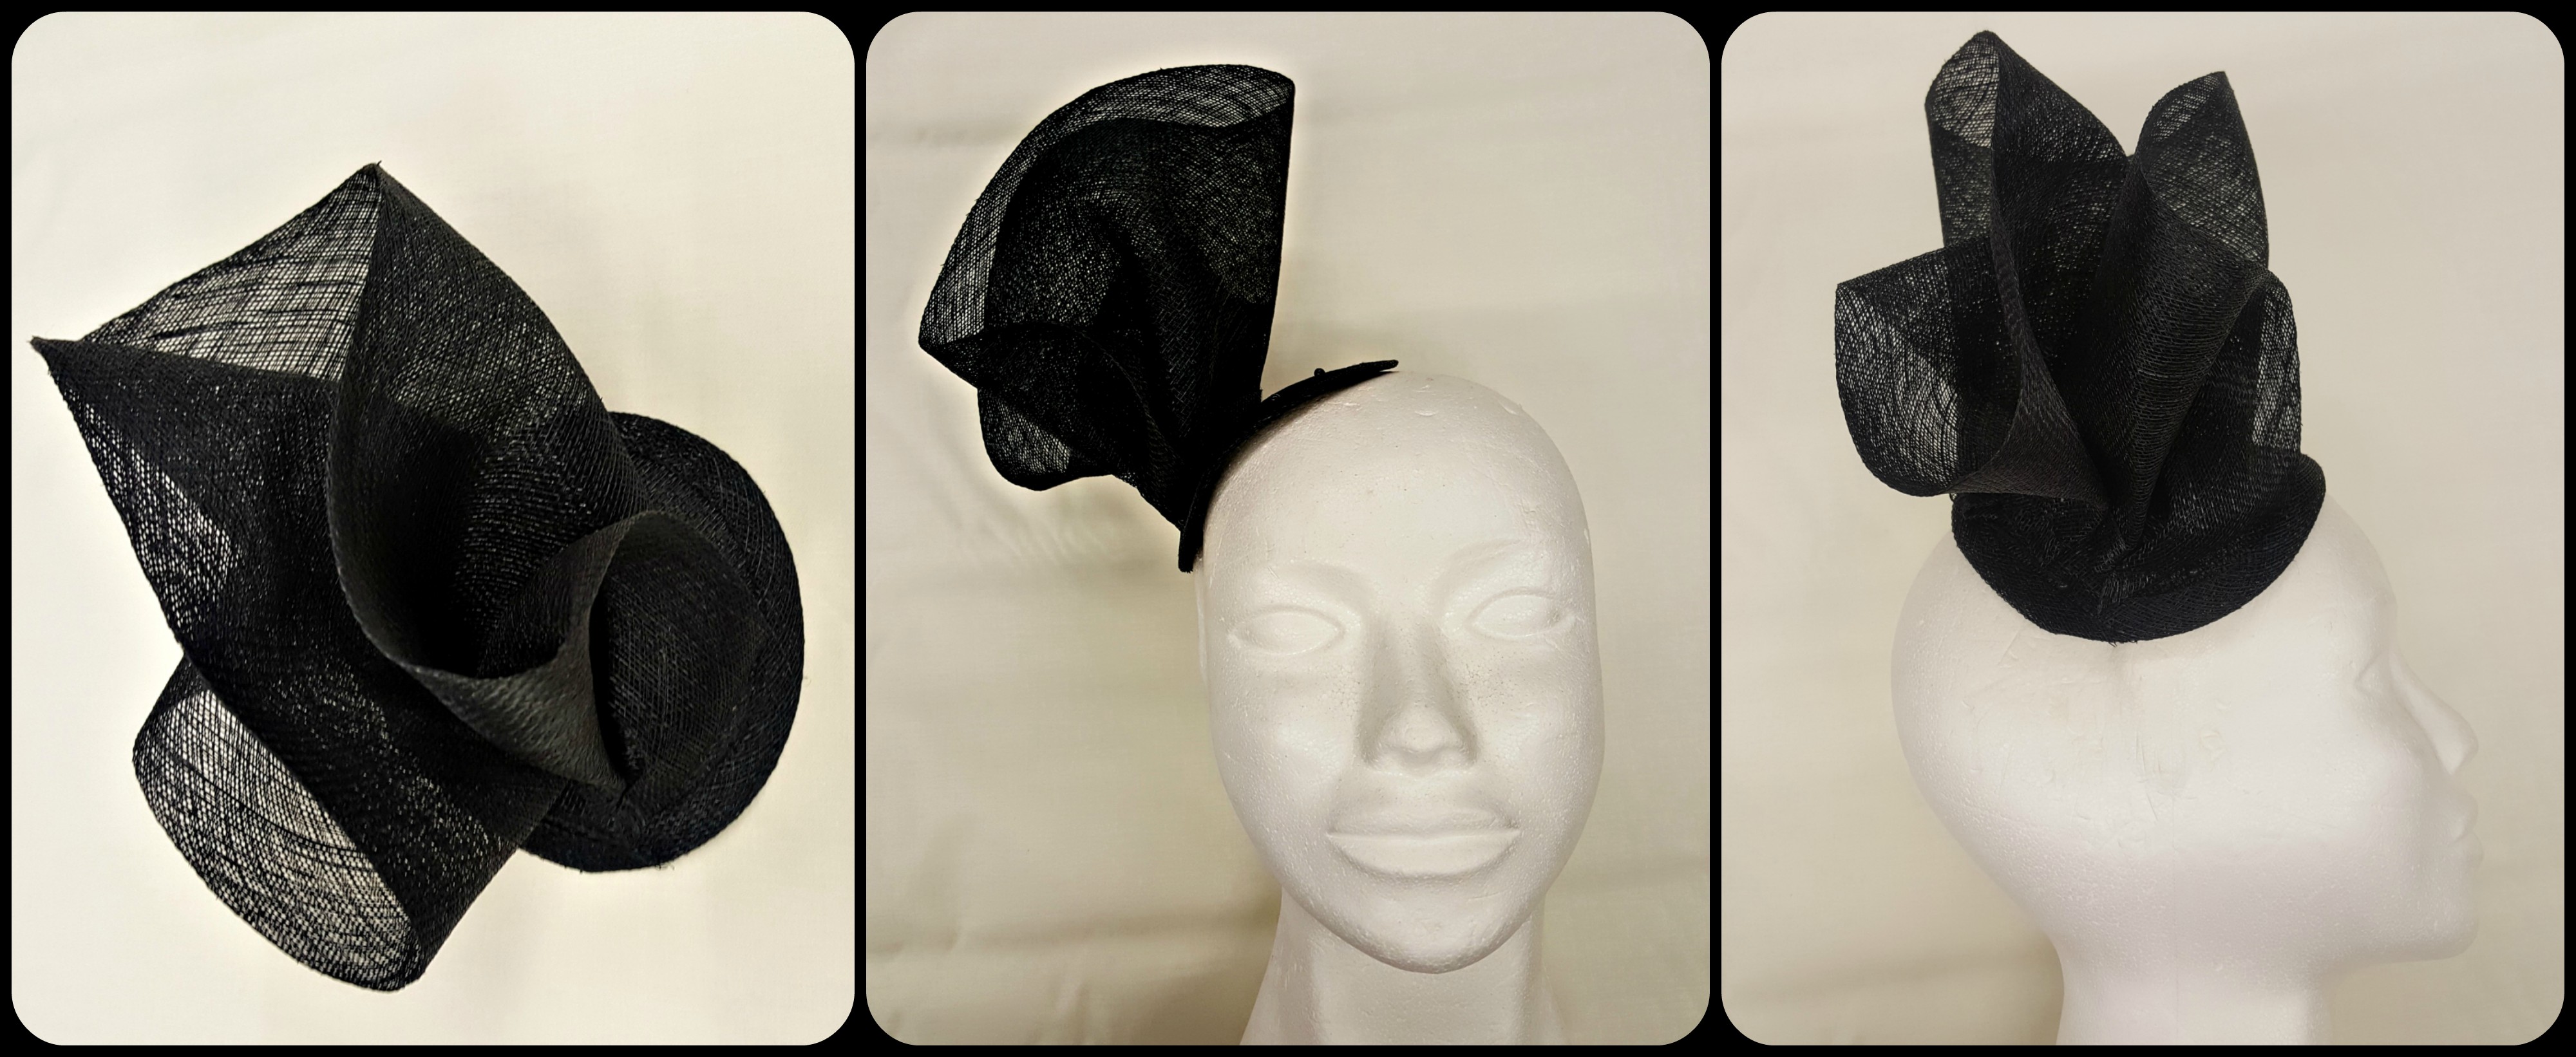
In our next millinery class we moved on to sculpting the main part of our fascinators. I had initially planned to make a sinamay flower to decorate my hat but ended up changing my design during this class.
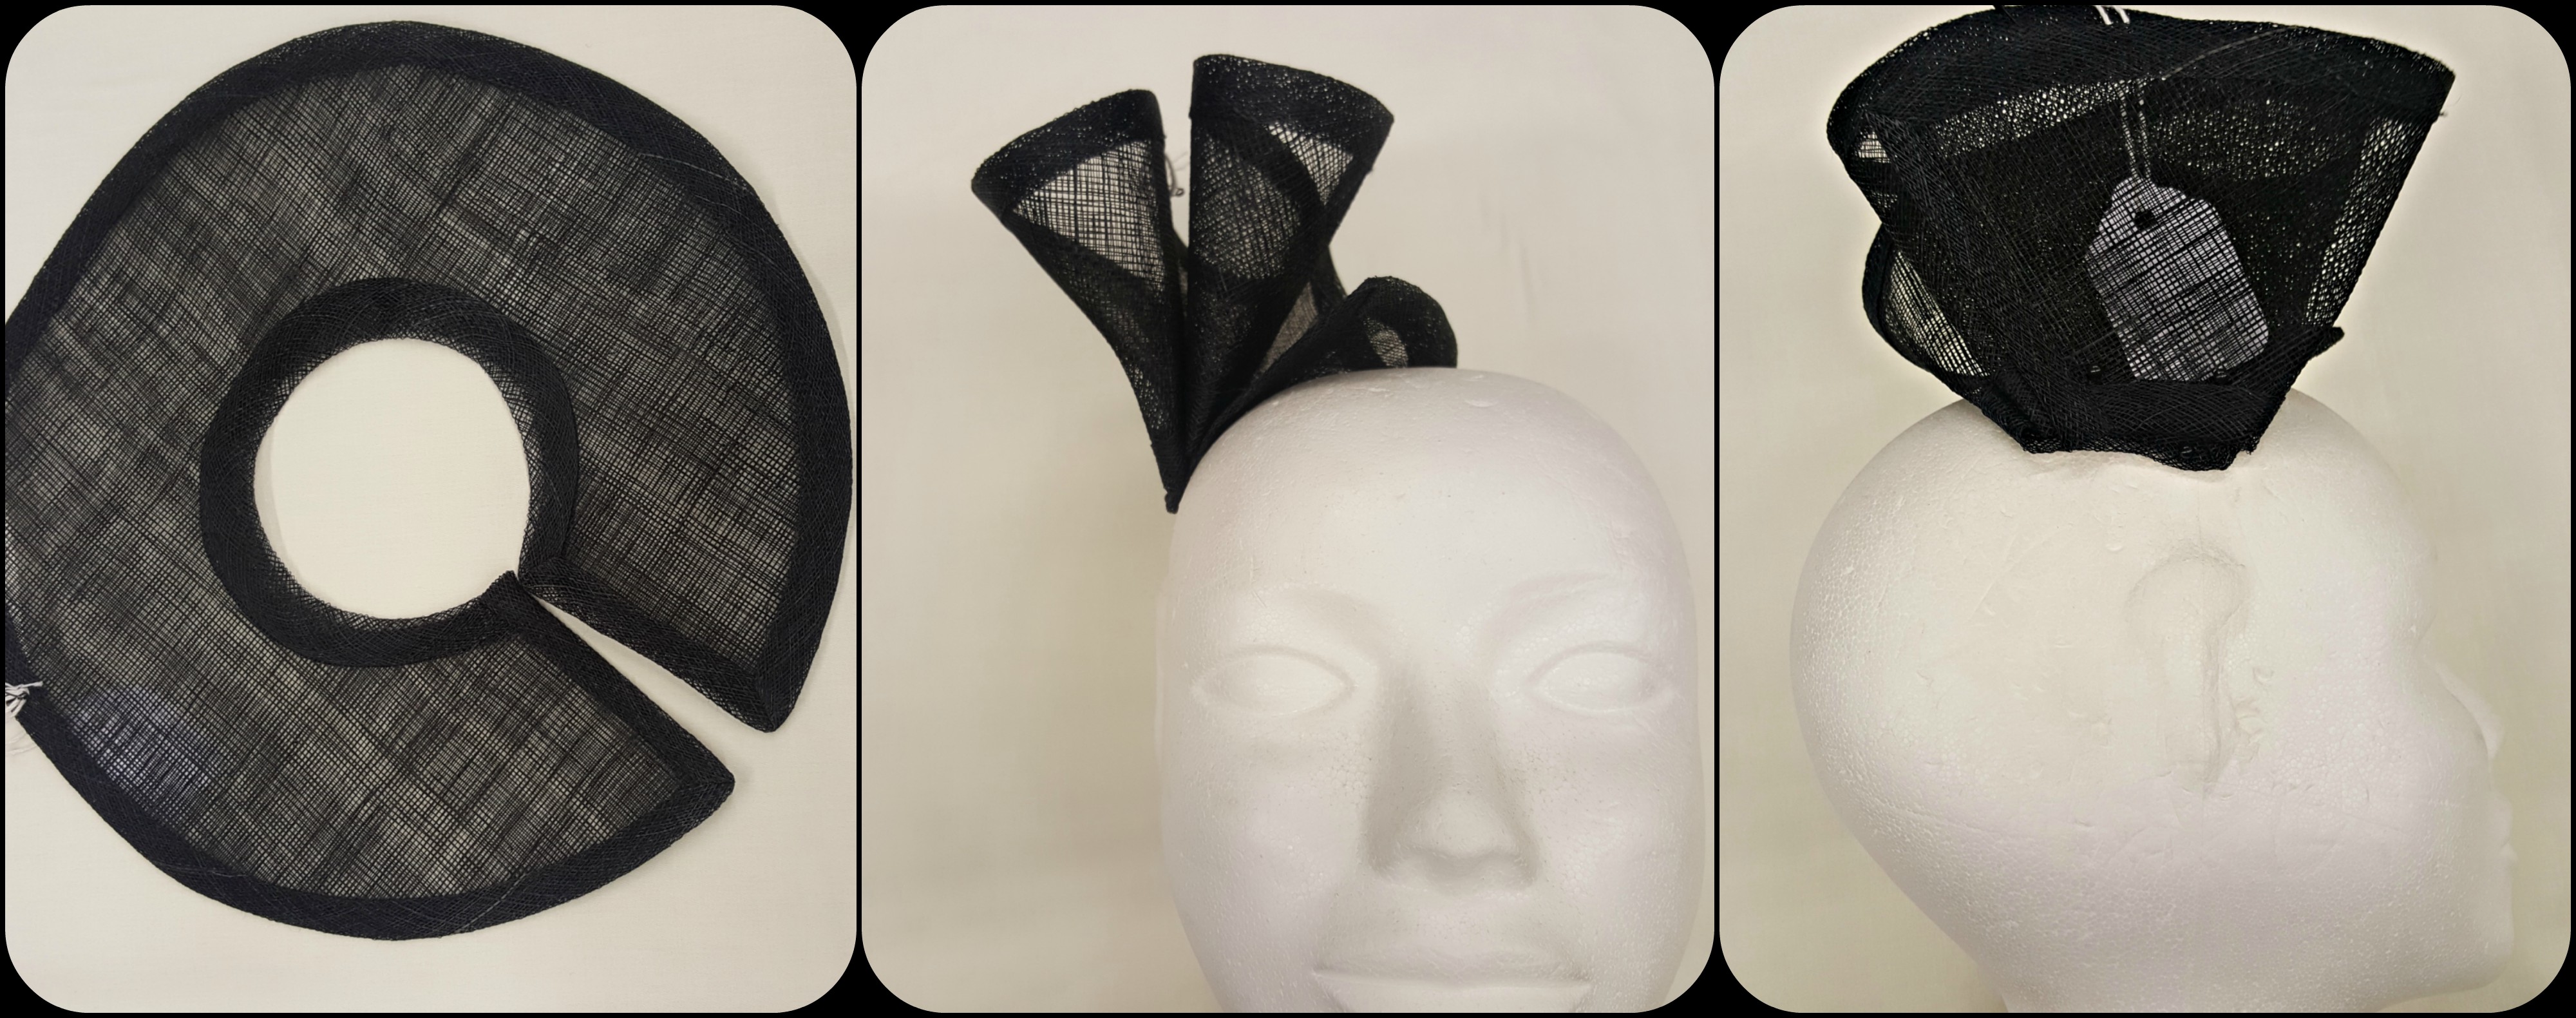
So to make the next part of my fascinator I began by cutting a square out of my sinamay, about 25cm by 25cm. Next I folded it diagonally to make a triangle and wet the sinamay so that I could re-shape it. I then stretched out the triangle that I had made until it was semi-circular in shape. I then stiffened my sinamay once I had it molded the way that I wanted. This does take some patience and a lot of ironing to shape the sinamay but once you have finished you will have your very own handmade hat!
We also sell hat bases and sinamay brims in store and online which will give you the same effect as you can see in the pictures. This would be a faster way of making a fascinator like the one I made in class. You can see our own sinamay hat brims in the photos below.
Stay tuned for next weeks blog!